


Table of content
How To Set Up The Raspberry PI as a Digital Signage Player
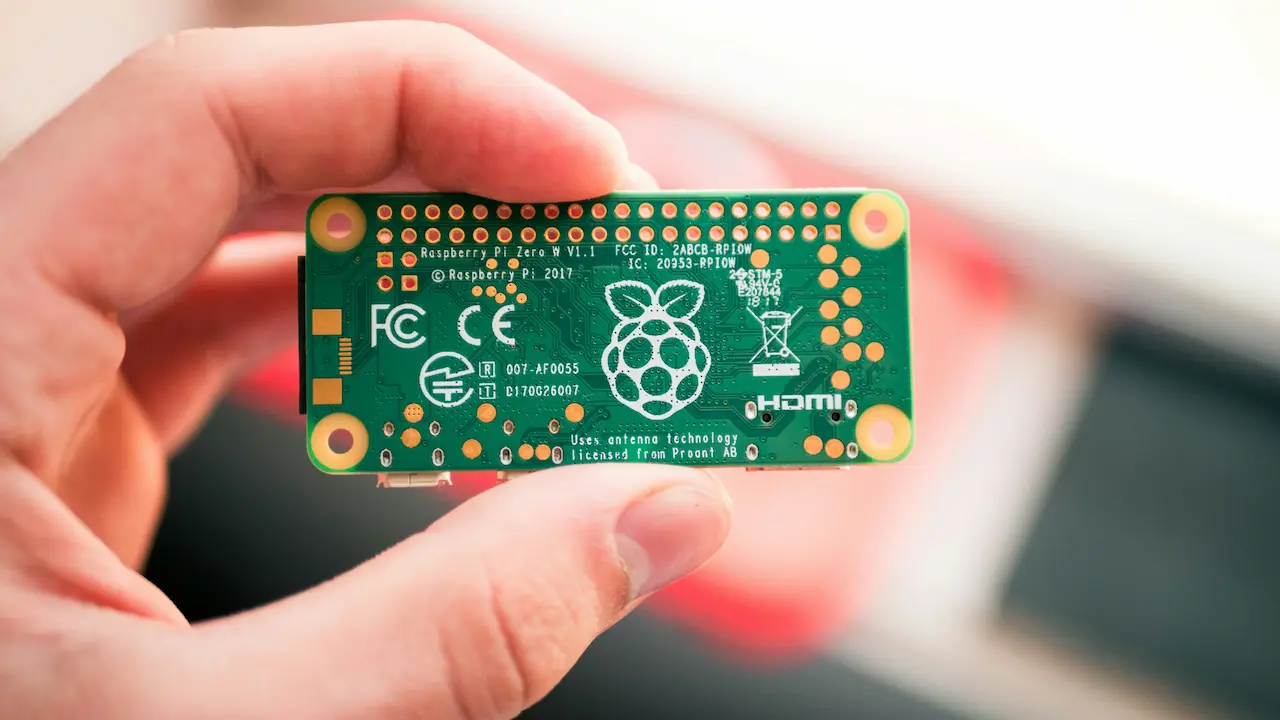
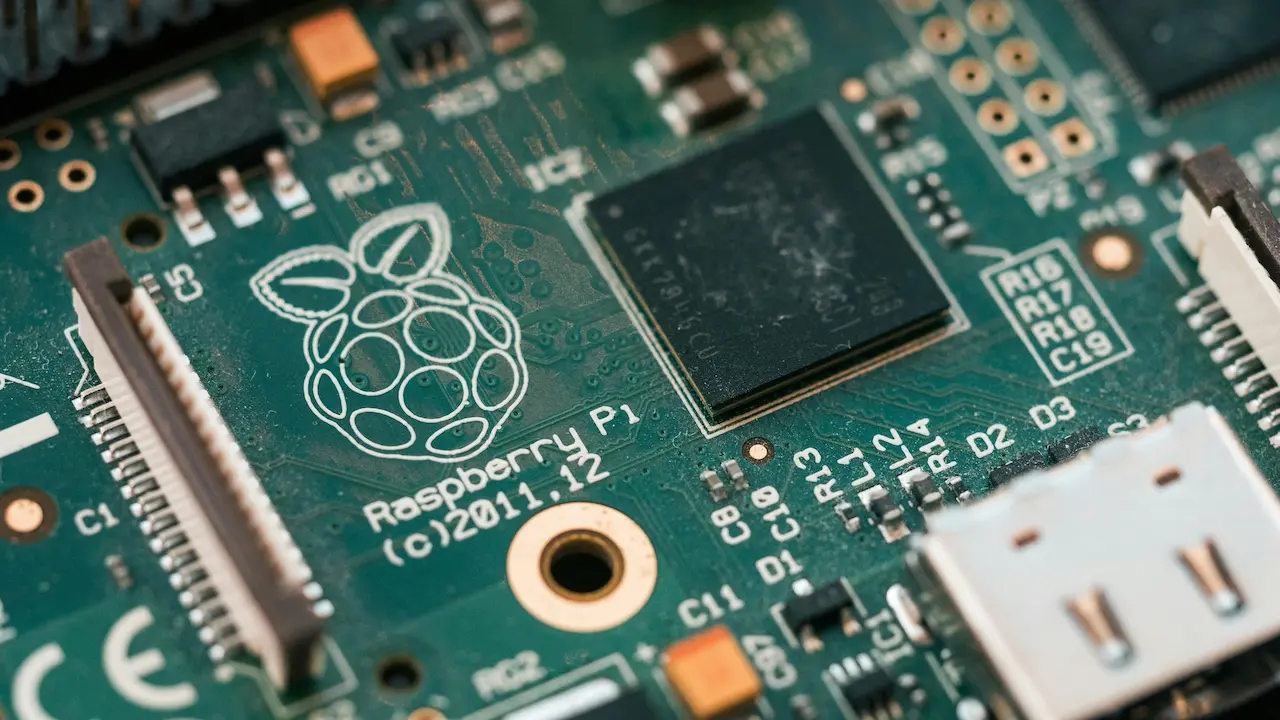
Have you ever wished you could build your own digital signage system without breaking the bank? Well, with a little help from the Raspberry Pi, that wish can become a reality! This tiny computer, no bigger than a credit card, has been a favorite of tech enthusiasts for over a decade. From its humble beginnings as an educational tool, it's evolved into a versatile powerhouse, capable of everything from home automation to, you guessed it, digital signage.
Now, with the arrival of the Raspberry Pi 5, things just got a whole lot more interesting. This latest iteration is faster, more powerful, and more energy-efficient than ever before.
But why choose a Raspberry Pi for digital signage in the first place? Great question! Here's the breakdown:
Why Raspberry Pi for Digital Signage?
Cost-Effectiveness: You can get started with the Raspberry Pi 5 for $60. That's significantly cheaper than dedicated digital signage players, which often cost upwards of $150.
Power and Performance: Even with its small size, The Raspberry Pi 5 boasts a quad-core Arm Cortex-A76 processor clocked at 2.4 GHz, delivering 2-3 times the CPU performance of its predecessor, the Raspberry Pi 4. It also features a VideoCore VII GPU that can handle dual 4K displays at 60Hz and decode H.265 video at 4K 60fps. That's more than enough power to drive stunning visuals and smooth animations on your digital signage
Customizability: The Raspberry Pi's open-source nature gives you complete control over your setup. You can choose from a variety of operating systems, customize the signage software to your liking, and even connect custom hardware thanks to its 40 GPIO pins. This flexibility allows you to create a truly unique and tailored digital signage solution.
Low Power Consumption: The Raspberry Pi 5 is designed with efficiency in mind, consuming significantly less power than traditional computers. The 2GB model, with its smaller die size, sips just 1.8 watts at idle and uses roughly 30% less power than the 4GB and 8GB models at idle.
Across the board, the Pi 5 remains about 50% more power-efficient under load compared to the Pi 4. This makes it an environmentally responsible choice and helps keep your energy costs down, especially for long-running digital signage displays.
Remote Management: With the right software, you can remotely manage and update your digital signage content from any device with an internet connect, so that your messaging is always fresh, relevant and engaging.
Gathering the Necessary Components
Raspberry Pi: The Raspberry Pi 3 can handle basic signage tasks, but for more advanced content like 4K video or multiple displays, it’s better to use a Pi 4 or the even faster Pi 5. The more recent models provide more processing power, better connectivity, and faster data transfer speeds.
MicroSD Card: The operating system and digital signage software will be installed on this card. A Class 10 card with at least 8GB of space is recommended, but for heavier use, a 16GB or larger card is ideal. The higher the class, the faster the read/write speeds, which can help avoid lag when displaying content.
Power Supply: A stable 5V, 3A power supply is essential to ensure your Raspberry Pi runs without interruptions. Using the official Raspberry Pi power supply is always a good idea because it’s designed to meet the board's power demands, especially when driving multimedia content.
HDMI Cable: This cable connects your Raspberry Pi to your display screen. Choose a cable that supports the resolution you need for your signage.
Display Screen: Any screen with an HDMI port will work. Depending on your needs, you might opt for anything from a small monitor to a large television. Be sure to choose a display that matches your desired resolution—whether it's 1080p for basic signage or 4K for crisp, detailed content.
Optional Peripherals (Keyboard, Mouse, Wi-Fi Dongle): You might need these for the initial setup, especially if you're not using remote access. Once the Pi is set up, you can remove these peripherals.
Setting Up the Raspberry Pi
Installing the Operating System
- Download Raspberry Pi OS: Head to the Raspberry Pi website and download the "Lite" version of Raspberry Pi OS. The Lite version is ideal for digital signage as it uses fewer system resources, leaving more power for running your signage software.
- Flash the OS onto the MicroSD Card: Use a tool like Balena Etcher to write the Raspberry Pi OS image onto your microSD card. This software is easy to use and will prepare your card for the installation.
- Insert the MicroSD Card into the Raspberry Pi: Once the card is ready, insert it into your Raspberry Pi.
- Connect the Raspberry Pi to the Display: Use the HDMI cable to connect your Raspberry Pi to your chosen screen.
- Power On the Raspberry Pi: Plug in the power supply, and the Raspberry Pi will boot up. You’ll see system messages displayed on your screen as the Pi boots.
- Complete the Initial Setup: Follow the prompts to set your language, and keyboard layout, and connect to Wi-Fi if applicable. Once configured, the Raspberry Pi will reboot, and you’ll be ready to proceed.
Choosing and Installing Digital Signage Software
A step-by-step guide for installing the chosen software
- Prepare Your Raspberry Pi
Before installing any software, it’s a good idea to update your Raspberry Pi’s operating system to ensure all packages are up-to-date. Open the terminal and run the following commands:
sudo apt update
sudo apt upgrade
This updates the system and prepares it for software installation.
- Download the Digital Signage Software
Most digital signage platforms will provide an image file or installation package specifically designed for the Raspberry Pi. For example, you’ll typically download the software from the provider’s website.
- Flash the Software Image
If the software requires flashing an image to the microSD card, you can use a tool like Balena Etcher. Here’s a common method:
- Download the software image from the digital signage provider.
- Install Balena Etcher on your computer (available for Windows, macOS, and Linux).
- Insert the microSD card into your computer.
- Use Balena Etcher to select the downloaded image file, select the microSD card as the target, and click Flash.
- Once the process is complete, insert the microSD card into your Raspberry Pi.
- Connect and Configure Your Raspberry Pi
After inserting the microSD card with the software installed:
- Connect the Raspberry Pi to your display screen using an HDMI cable.
- Plug in the power supply to boot the Pi.
- If prompted, connect the Raspberry Pi to the internet via Wi-Fi or Ethernet. In some cases, you may need a keyboard and mouse to configure the network settings initially, especially for Wi-Fi.
- Finalize the Configuration
Once the Raspberry Pi boots up, the digital signage software will typically guide you through additional configuration steps, such as setting up display preferences, pairing the device with a content management system (CMS), and registering the device if required. You’ll often receive a unique registration code displayed on the screen, which you’ll need to enter into the software’s web dashboard.
- Start Managing Content
With everything set up, you can now manage and schedule your signage content via the software’s dashboard, accessible from any device on the same network. Most platforms allow for remote control and content management, making it easy to update your signage without needing direct access to the Raspberry Pi.
Conclusion
The Raspberry Pi 5 has arrived, and frankly, it's impressive. This little powerhouse delivers a compelling combination of affordability, performance, and flexibility, making it a fantastic choice for digital signage. While Pi 4 users might not need to rush out for an upgrade just yet, anyone with an older model or those new to the Raspberry Pi ecosystem should seriously consider the Pi 5.
Even at $60, it's not exactly pocket change, but for what it offers, the Pi 5 is an incredible value. If you're looking to create engaging, dynamic displays without the hefty price tag of dedicated digital signage players, the Raspberry Pi 5 is a fantastic option.


